Essential motorcycle chain maintenance tips….You ever hear your chain squeak mid-ride and think, “Eh, probably nothing.”?
Yeah, me too. Until one day it wasn’t nothing—it was a full-blown slap followed by a pop and then my rear tire locking up like a toddler throwing a tantrum in Target.
That was the day I learned about essential motorcycle chain maintenance tips the hard way. And I’m here to make sure you don’t have to learn them on the side of I-80 while sweating in full gear and yelling at your chain like it betrayed your family.
Let’s talk chain stuff, yeah?
🏍️ First—Why Chain Maintenance Isn’t Optional (Even If You’re Lazy Like Me)
Your chain is kinda like the unsung hero of your bike. It’s not flashy like the fairings or loud like your exhaust or sexy like that aftermarket seat you paid way too much for (but no regrets). But it matters.
Without it?
You’re basically sitting on a very expensive lawn ornament.
Bad chain = bad ride. And maybe bad day. Possibly even a trip to the ER if you’re unlucky and physics decides to humble you. Been there. Not fun.
🧰 Things You’ll Need to Do It Right (No Rocket Science Here)
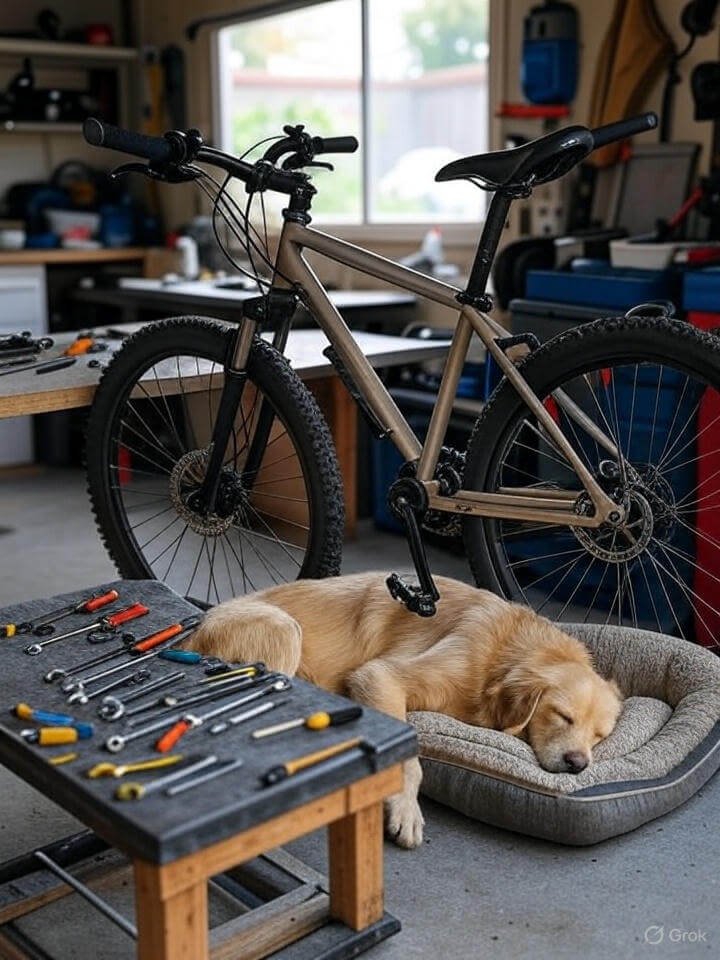
Let’s make this super clear: you don’t need a pristine garage with lighting like a Hollywood film set. You can do this in your driveway with your dog watching suspiciously from the porch.
Here’s your chain-care starter pack:
- Chain cleaner (get one made for chains, not your all-purpose kitchen spray)
- Chain brush (or an old toothbrush, if you hate money but love effort)
- Good chain lube (O-ring safe, unless you like replacing chains often)
- Rags or paper towels (preferably ones your significant other won’t notice are missing)
- Rear stand (nice to have, not essential—you can get creative with a jack and bricks, but maybe don’t)

🧼 Tip #1: Don’t Clean It Like You’re Washing Dishes
I used to blast my chain with a hose like it owed me money. Spoiler alert: that’s a great way to push water into the seals and ruin everything.
Instead:
- Spray on a chain-specific cleaner
- Let it sit a minute so the grime breaks up
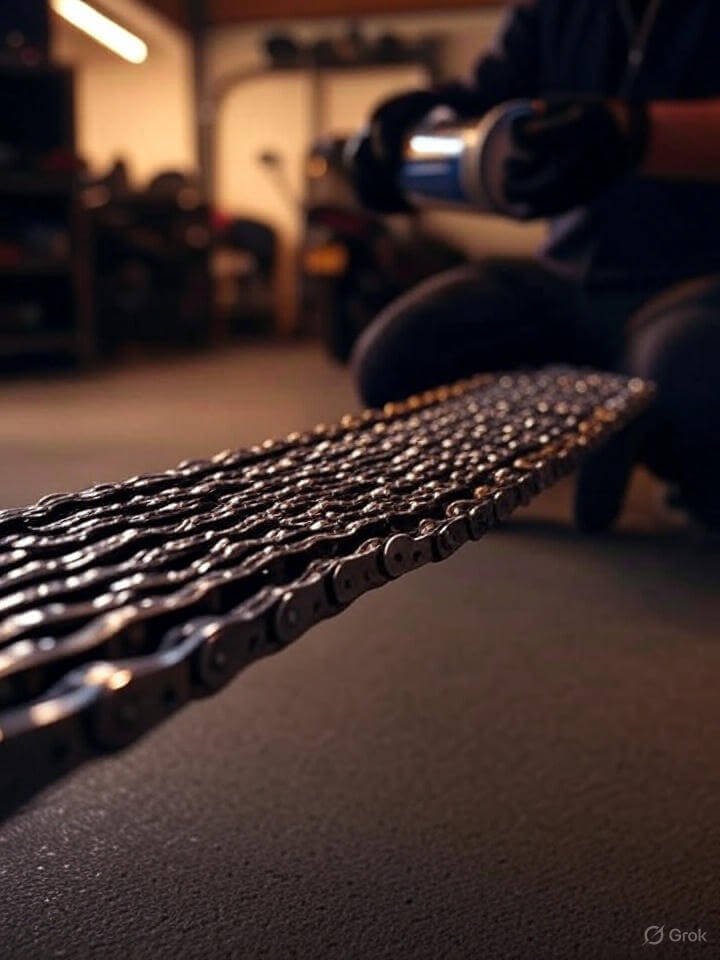
- Use your brush to scrub the inside of the chain where it actually contacts the sprockets
- Wipe it all down with a rag
- Repeat if it’s still gunky (it usually is)
Pro tip: Do this when the chain is warm—like after a short ride. The grime comes off easier.
💦 Tip #2: Don’t Go Lube-Crazy (I’ve Been There)
Here’s where most of us mess up: too much lube is a thing.
I used to spray so much that I practically baptized my chain. Then I wondered why my wheel and swingarm looked like they were dipped in molasses the next day.
Here’s what works better:
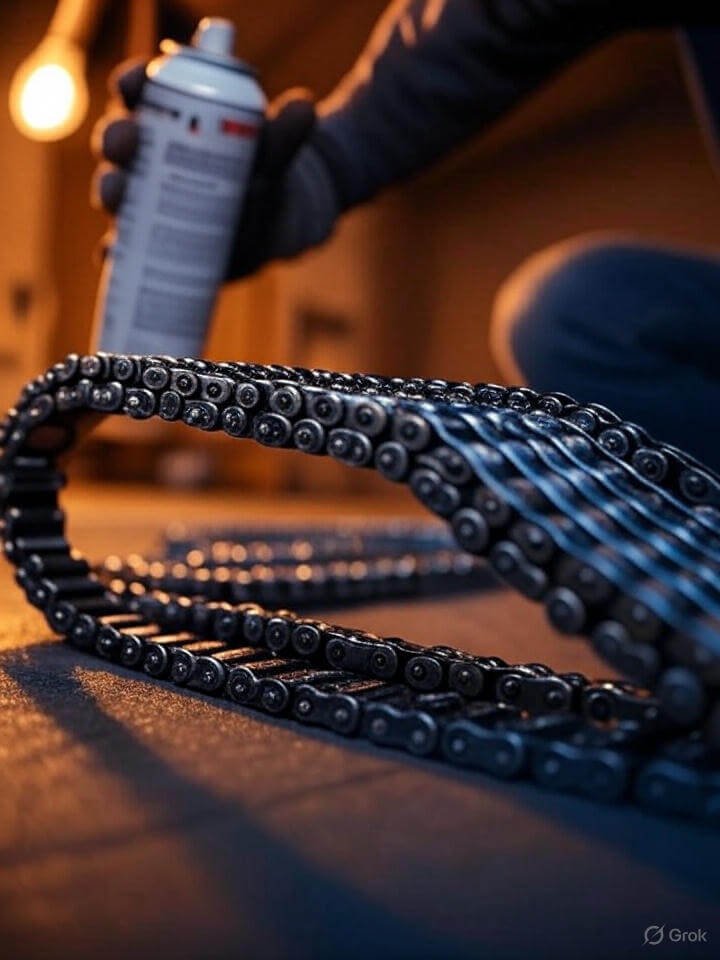
- Apply lube to the inside of the chain
- One full rotation while slowly spinning the wheel
- Let it sit for at least 15 minutes so it sticks
- Wipe off the excess
That’s it. Seriously.
Too much lube just attracts dirt and turns your chain into a disgusting gummy worm. No thanks.
⚙️ Tip #3: Check Chain Tension Like You Check Your Zipper Before a Date
It’s one of those little things that’s embarrassing when ignored.
Too tight = stress on the drivetrain
Too loose = risk of the chain coming off and turning into a literal whip
Look in your manual for the spec range (usually around 1 to 1.5 inches of slack). Press down on the lower chain run midway between the front and rear sprockets and measure it.
I do this monthly—or every time I wash the bike. Or when something feels… off. Like when your chain slaps during deceleration? Yeah. Time to check tension.
😬 Tip #4: Look for Weird Stuff (Like a Detective)
Get weirdly close to your chain. Like, uncomfortably close. And check for:
- Rust
- Kinks or stiff links
- Shiny spots or flat rollers
- Cracks or tears in the O-rings
If you spot those, your chain’s crying for help. Maybe even begging. If you ignore it, it’ll ghost you mid-ride and leave you stranded texting your most annoyed friend: “Can u pick me up?”

🛠️ Tip #5: Replace the Chain AND Sprockets Together
This one’s annoying, but important.
I once tried to save money by just replacing the chain, not the sprockets. Two months later? My new chain wore out faster than my last relationship.
They wear together. If you slap a new chain on old, worn-out sprockets, it’s like putting new tires on a shopping cart. Doesn’t end well.
So yeah—budget for a full set. You’ll thank yourself later.
😂 Quick Story: That One Time I Tried to Clean My Chain in a Gas Station Parking Lot
We were on a long ride through the backroads of North Carolina. My chain was sounding crunchy, and I panicked. No cleaner. No lube. Just gas station coffee and desperation.
So I bought a toothbrush and a bottle of vegetable oil.
Did it work? Kinda. Did it smell awful? Absolutely. Did my buddies make fun of me for the next six months? You bet.
Don’t be me. Pack chain lube on long trips.
📅 How Often Should You Do All This?
This part’s actually super easy to remember:
- Clean and lube every 300-600 miles
- More often if it’s raining, muddy, or dusty
- Check tension every 2-3 rides
- Inspect for wear monthly
- Replace chain and sprockets every 15,000 to 25,000 miles (depends on riding style)
If you’re commuting in rain and sludge every day? Yeah, you’re on the clean it weekly team. Welcome to the grime life.
🔗 Stuff That Helped Me (and Might Help You Too)
- This forum thread on “Chain Cleaning Horror Stories”
- How NOT to Clean Your Chain (A Cautionary Tale)
🏁 Wrap Up: Essential motorcycle chain maintenance tips
Okay, that sounds dramatic—but hear me out.
They need consistent care. Some attention. A little effort now and then. Ignore ’em too long, and they’ll snap under pressure.
But keep up with the small stuff? They’ll carry you through thousands of miles of memories—smooth, steady, reliable.
So go out there. Grab a rag. Spray some lube. Whisper sweet nothings to your chain while you spin the wheel and pretend you’re a pit crew superstar.
Because yeah—it’s just chain maintenance.
But it’s your chain. And your ride deserves better than a crunchy, squeaky mess.


