


Motorcycle Chain maintenance is, like, my current hyperfixation, y’all. I’m hunched in my sweaty Bangalore garage, the air smelling like petrol, wet dirt, and that chai I spilled earlier. Seriously, I used to think chains just… took care of themselves? Big nope. India’s dusty roads and random rain showers will wreck your bike faster than you can say “monsoon traffic.” So, here’s my messy, human, slightly embarrassing take on bike chain care, straight from my grease-stained hands in India. I’m no pro, and I’ll probably screw something up here, but bear with me.
Why Motorcycle Chain Maintenance Ain’t Optional
Look, I’ll be real—I thought chain maintenance was for those dudes who name their bikes and talk to ‘em. But last week, I’m cruising through Bangalore, dodging potholes and stray dogs, and my chain starts screeching like a banshee. Mortifying. I pulled over near a chai stall, face burning, while aunties stared. A clean chain keeps your bike smooth, saves you cash, and prevents you from looking like a total noob. Check CycleWorld take for the fancy explanation I wish I’d read sooner.
- Power vibes: A dirty chain steals your bike’s juice, like running with a backpack full of bricks.
- Long life: A good chain lasts years; a bad one? Good luck, buddy.
- Don’t crash: A busted chain mid-ride is, uh, not the adventure you signed up for.
My (Slightly Chaotic) Tools for Bike Chain Care
Okay, tools. I’m no gearhead—half the time I’m googling “how to not break my bike” with greasy fingers. My garage is a mess: old rags, a random sandal (where’s the other one?), and a stack of chai cups I keep forgetting to wash. Here’s what I use for Motorcycle Chain maintenance, mistakes and all:
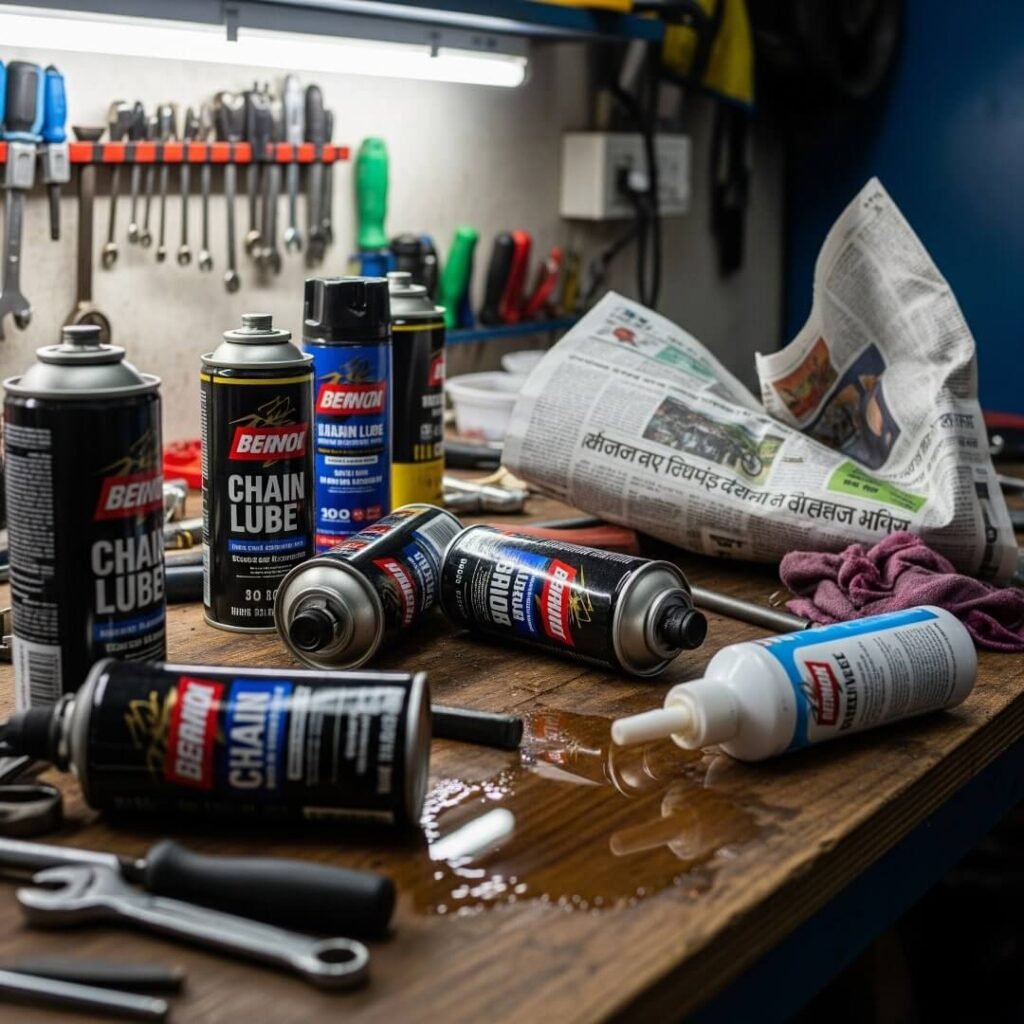
- Chain cleaner: I got a citrus one ‘cause it smells less toxic. Spilled it once, ruined my favorite shirt.
- Chain brush: Mine’s beat-up, bristles falling out like my hair in humid weather.
- Lube: Quality chain lube, not the cheap stuff. RevZilla has solid picks.
- Rags: I’m using an old kurta I ripped at a market. Classy, right?
- Rear stand: Don’t have one, so I prop my bike against a wall like a true disaster.
My Motorcycle Chain Maintenance Routine (With Screw-Ups)
Here’s my process for bike chain care, learned through sweat, curses, and one very public breakdown on MG Road. It’s not perfect—neither am I—but it works. Mostly.
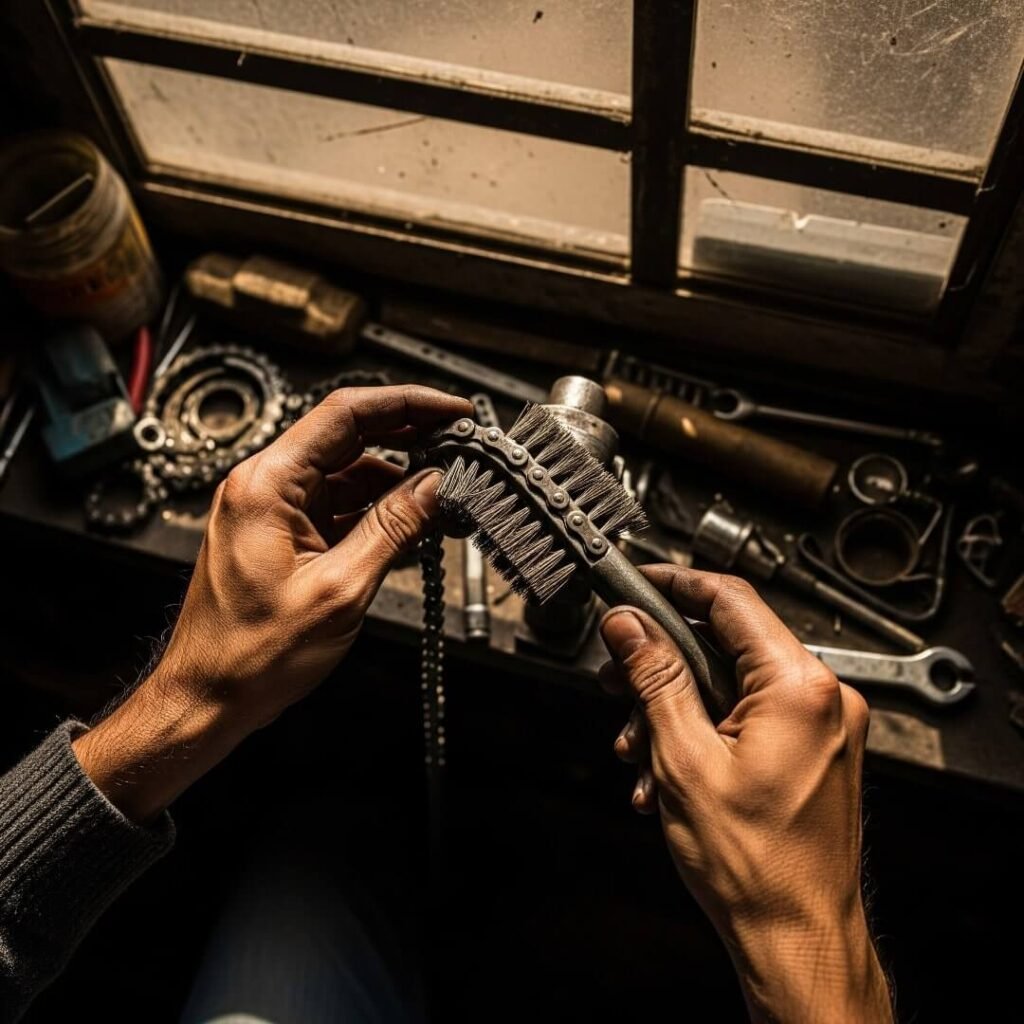
Step 1: Scrub That Nasty Chain
I grab my cleaner and brush, squat on the garage’s cracked concrete, and go to town. The chain’s always caked with grime, like it’s been rolling through a dust storm. I spray cleaner, let it sit, and scrub like I’m mad at it. Pro tip: Spin the wheel to hit every link. I forgot once and left half the chain filthy—looked like a bad ombre job. Oops.
Step 2: Rinse and Dry (Don’t Half-Ass It)
Next, I rinse with water from a bucket that’s, uh, not exactly clean. Might’ve had chai in it yesterday—don’t ask. I dry the chain with a rag, ‘cause wet chains hate lube. I skipped drying once, lubed it anyway, and ended up with a chain that looked like it rolled through tar. Total rookie move.
Step 3: Lube It Right, Or Else
Lubing’s the best part. I grab my chain lube, aim for the inner chain (messed this up before, lubed the outside like an idiot), and apply a thin coat while spinning the wheel. Overdid it once, and my bike was dripping oil like it was crying. Wipe off extra lube with a rag. Motorcycle.com explains it better than me.
Step 4: Check Tension (Don’t Be Me)
Chain tension’s a pain. I push the chain up and down—should have about an inch of play. Too tight, and your engine’s screaming; too loose, and it’s flopping like my attempts at bargaining in Hindi. I ignored a loose chain once, and my bike handled like a shopping cart with a bad wheel. Also, eyeball the alignment. I didn’t, and, well, let’s just say I learned.
My Dumb Motorcycle Chain Maintenance Mistakes
I’ve botched bike chain care so many times. Like, I once used cooking oil ‘cause I ran out of lube—thought it’d be fine. Spoiler: It wasn’t. My chain attracted dirt like I attract mosquito bites. Another time, I didn’t dry the chain properly, and rust spots popped up like zits before a date. Learn from my screw-ups, y’all—stick to the plan.

Wrapping Up My Motorcycle Chain Maintenance Saga
So, that’s my take on motorcycle chain maintenance, straight from this humid Bangalore garage where I’m wiping grease off my hands and praying I did it right. It’s messy, it’s annoying, but when your chain’s clean and your bike’s humming, it’s like nailing a tricky recipe. If I can pull this off without totally screwing up, you got this. Got any chain disasters of your own? Hit me up on X or drop a comment. I’m dying to know I’m not the only one fumbling through this.

